Showing posts with label sweet. Show all posts

01 April, 2012

Chocolate Chip Cookie Dough Dip

I actually made this dip awhile ago, and I've been struggling with what to say about it, because I really have mixed feelings - more on that later.

Recipe:
1/2 cup (1 stick) butter, room temperature
1/4 cup brown sugar
8 ounces cream cheese, room temperature
3/4 cup confectioners sugar
2 teaspoons vanilla
1/2 teaspoon salt
3/4 cup semi-sweet chocolate chips

Melt the butter in a small saucepan over medium heat.  Add the brown sugar and stir until it dissolves.  Continue stirring over heat until the mixture just starts to boil.  Stir in vanilla and remove from heat.

Beat the cream cheese, add the powdered sugar and mix until combined.  Turn mixer to low speed and stir in the butter and brown sugar mixture.  Add salt and mix until well combined.  Stir in the chocolate chips.

Before serving, garnish with additional chocolate chips.  Serve with Nilla wafers, animal crackers, or graham crackers.

Now, as I said, I have mixed feelings about this.  On the one hand, it went together very quickly, tastes good, and was quite popular.  On the other hand, I've been off sugar for awhile, and to me it was just overwhelmingly, tooth-achingly sugary after about two bites.  And this was after I cut the sugar down from the original recipe.  I also felt guilty about making something so obviously unhealthy since I've gotten into better eating habits.

So I guess if you're used to mass quantities of sugar, go for it.  If you're not, make it for your friends and have one or two bites.

Lemon Stars with Triple Citrus Filling

I saw these the other day over on The Kitchn, they looked so lovely I just had to try them out!

Recipe:
1 cup (2 sticks) butter, room temperature
1 cup confectioners sugar
1/4 cup heavy cream or half and half
1 tablespoon lemon zest
1 tablespoon lemon juice
2 teaspoons vanilla
1/2 teaspoon salt
2 cups flour, plus more for rolling

Beat butter, add confectioners sugar, cream, lemon zest and juice, vanilla, and salt.  Mix for about 1 minute at high speed.  Turn mixer to low and add flour.

Turn dough out onto a piece of plastic wrap or parchment paper and pat into a dic.  Wrap and chill until firm, about 2 hours.  It can be kept in the refrigerator for up to 2 days.  Make the filling about the same time as the dough, so it is chilled when the cookies are ready to be filled.

Once the dough is chilled, unwrap and divide it in half.  Preheat oven to 350°.

Flour surface and roll dough about 1/8 inch thick and cut out using a cookie cutter that is about 1 1/2 inches across.  Place on a baking sheet lined with parchment paper, leaving about 1 inch between cookies.

Bake until just starting to brown, 9 to 11 minutes.  Transfer to a wire rack and cool completely.  Once cool, place about 1 teaspoon of filling between 2 cookies and press gently to spread filling.

Store in an airtight container.

Triple Citrus Filling:
4 tablespoons butter, room temperature
8 ounces cream cheese, room temperature
1 cup confectioners sugar
1 teaspoon lemon zest
1 teaspoon grapefruit zest
1 tablespoon orange juice
Pinch of salt

Beat butter and cream cheese on high speed until fluffy, about 1 minute.  Add sugar, lemon zest, grapefruit zest, orange juice, and salt.  Beat at medium speed for 3 to 4 minutes.  Refrigerate before using.

Aren't they cute!

I love these because they're light and refreshing, and not super sugary.  The cookie definitely has a shortbread quality, and the filling is so nice and fluffy.

The recipe from The Kitchn said it made about 25 cookies.  Now, maybe I rolled my dough a little thinner that 1/8 inch, but I got almost 4 dozen out of a single batch.  And that's after I paired them into sandwiches.  I was cutting and baking cookies for a long time.

11 February, 2012

Strawberry Sorbet

Here's an hCG diet friendly dessert that I recently tried using one of my daily fruit servings.

Recipe:
6 fresh strawberries
6-8 drops vanilla stevia

Puree strawberries in a blender.  Stir in vanilla stevia.  Place in a small lidded container and freeze for about 2 hours, stirring about every 30 minutes.  Serve.

Very refreshing!  And it tastes very indulgent, but it just fresh fruit and stevia.

This would also be good with a little lemon juice and a sprinkle of ginger.

22 December, 2011

Eggnog Sugar Cookies

Nutmeg is one of my favorite spices.  For me, it's one of those delicious comfort food flavors, and one that I always associate with winter.  So these cookies are super festive for me, and I love them because they have a more complex flavor than the average sugar cookie.

Recipe:
2 cups flour
1 teaspoon baking soda
1/2 teaspoon salt
1 teaspoon cinnamon
1 teaspoon nutmeg
1/2 teaspoon cloves
1/2 cup butter, softened
3/4 cup sugar
1 egg
2 teaspoons vanilla
1/3 cup eggnog

Preheat oven to 350°.
Stir together flour, baking soda, salt, and spices.  Set aside.
Mix together butter and sugar until creamy.  Add egg, vanilla, and eggnog and mix well.  Gradually add the flour mixture and mix until combined.
If dough is too soft to roll out, refrigerate for 1 hour.
On a floured surface, roll dough out to 1/8 inch thick.  Cut out with cookie cutters, place 2 inches apart on an ungreased cookie sheet.
Bake 8-12 minutes, until the edges are golden brown.  Cool and frost with eggnog cream cheese frosting.

Frosting:
8 ounces cream cheese, softened
6 ounces butter, softened
2 teaspoons vanilla
1/2 cup eggnog
3-4 cups powdered sugar

Mix cream cheese and butter together until creamy.
Beat in vanilla and 1/4 cup of eggnogg.  Gradually mix in 1 1/2 - 2 cups of powdered sugar.
Add remaining eggnog.  Mix in remaining powdered sugar until it is a good spreading consistency.  If it gets too stiff, add a little eggnog.


These cookies are so good!  I love the slightly custardy flavor and the spiciness.  They're perfectly festive, and fun to make.

07 December, 2011

Cinnamon Roasted Almonds

So, as promised here's the second recipe for roasted almonds (the first being cocoa roasted almonds).

These are more traditional cinnamon roasted almonds, like the delicious smelling ones they make at the mall around Christmas.

Recipe:
2-3 pounds raw almonds
1/2 stick (4 Tbsp.) butter
1 Tbsp. vanilla
2 tsp. sugar

1 Tbsp. cinnamon
1 tsp. ginger
2 tsp. nutmeg
1/4 cup sugar

Spread almonds in shallow baking pans or rimmed cookie sheets.  Place in the oven, then turn heat to 350° (don't pre-heat) and bake 5 minutes.  Stir almonds and bake an additional 8 minutes.  Remove from oven.

Melt butter, stir in vanilla and 2 teaspoons sugar.  Pour over almonds and stir until coated.

Mix together cinnamon, ginger, nutmeg, and 1/4 cup sugar.  Sprinkle over the almonds 1 tablespoon at a time, stirring after each addition.

Spread almonds on parchment paper or foil and cool 1 hour.


These are nice and spicy, I used mostly Penzey's Vietnamese Extra Fancy Cinnamon, which is a very bold and spicy cinnamon.  The ginger and nutmeg help round out the flavor, giving these a very warm, comforting spiciness, like pumpkin pie or ginger snaps.


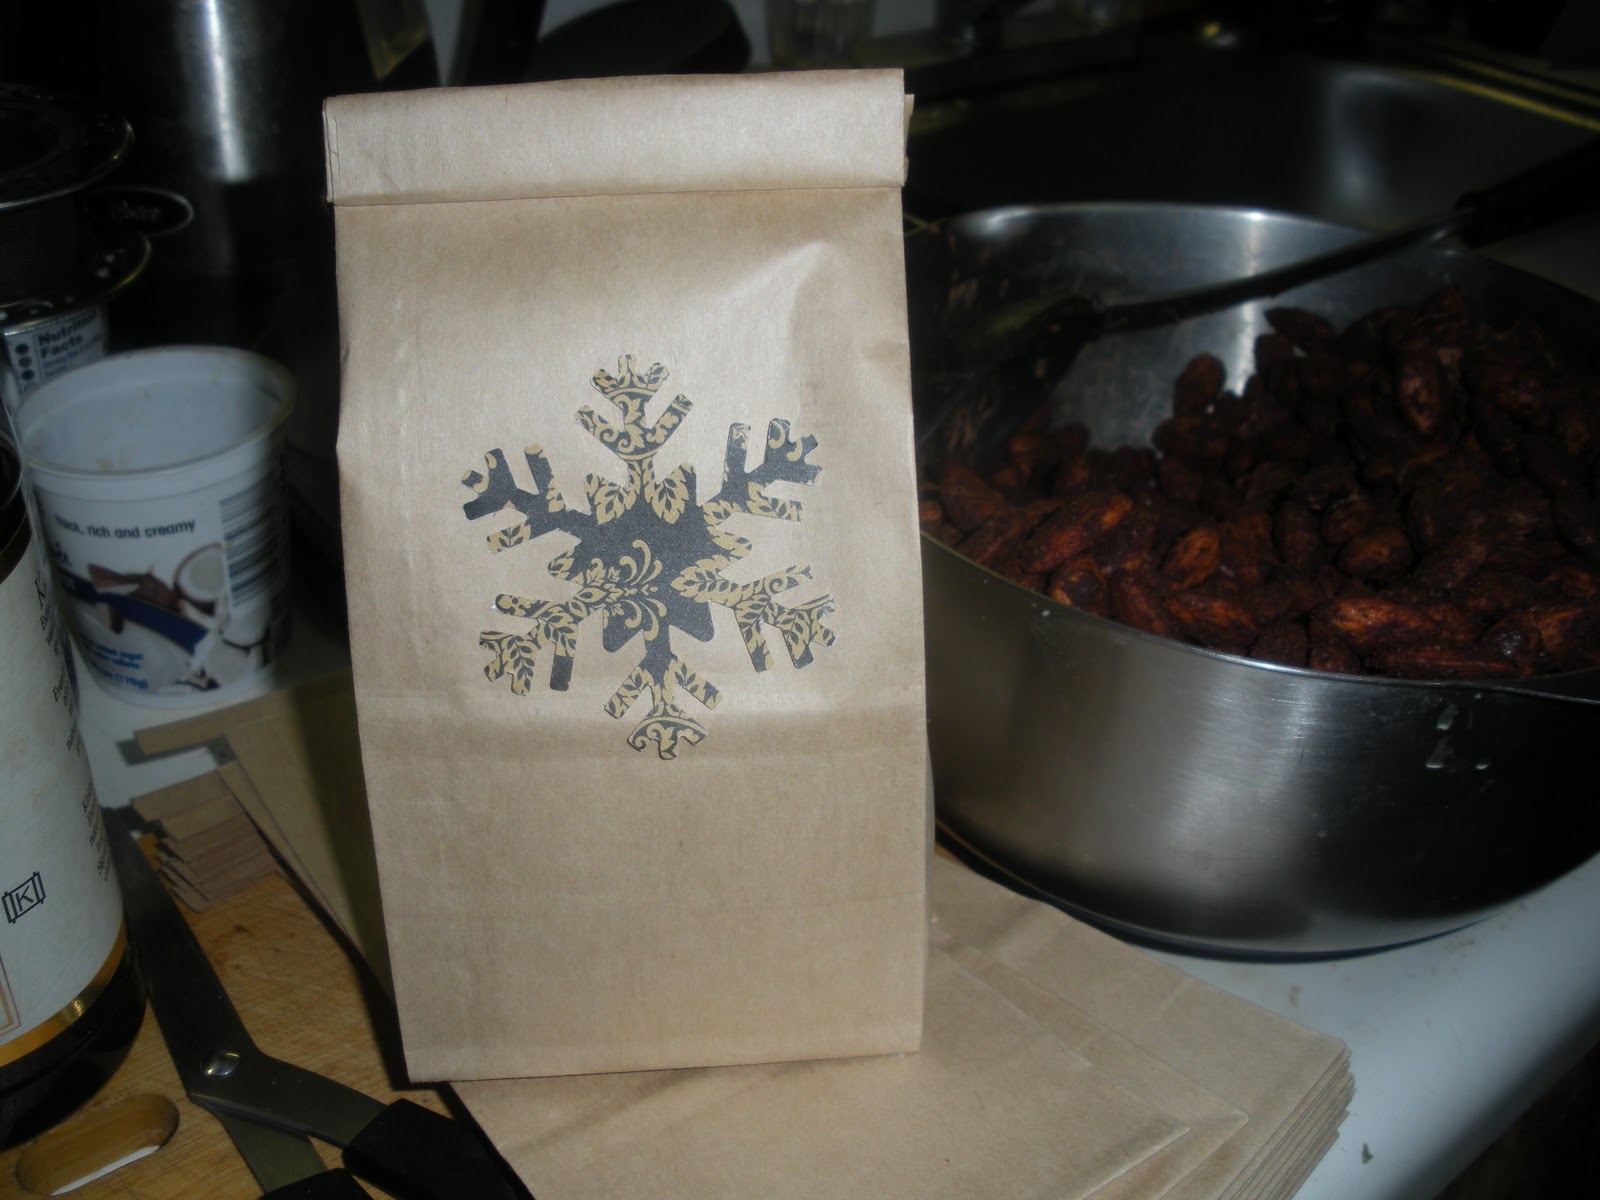
And, again, I'm packing these up into decorative gift bags:


So festive, and a fairly easy homemade gift.  I figure that each of these cost under $4 to make, counting the almonds, other ingredients, bags, decorative paper, et cetera.  So really, these are great gifts - homemade, festive, economical, and edible!

Cocoa Roasted Almonds

I love roasted almonds.  You know around Christmas when they put that almond roasting booth up in the mall?  I can't get enough of that.  It just seems so festive and I'm not entirely sure why.  There's absolutely no reason to only have roasted almonds around Christmas.

A few years ago I came across a recipe for roasted almond and it was great, but these days I don't feel inclined to boiling almonds in honey and then coating them in sugar.  I've been experimenting in small batches and here is the first of two recipes for roasted almonds.

Recipe:
2-3 pounds raw almonds
1 stick (1/4 pound) butter
2 ounces dark chocolate
1/4 cup cocoa powder
1/4 cup sugar

Spread almonds in shallow baking pans or rimmed cookie sheets.  Put them in the oven, then turn heat to 350° (don't pre-heat) and bake for 5 minutes.  Stir and return them to the oven and bake for an additional 8 minutes.  Remove from oven.

Melt butter and chocolate.  Pour over almonds and stir to coat.

Stir cocoa powder and sugar together and sprinkle it over the almonds 1 tablespoon at a time, stirring well after each addition.

Spread almonds out on foil or parchment paper and cool for 1 hour.

Pour the almonds into a large bowl, sprinkle with 1 additional tablespoon each of cocoa powder and sugar, and stir to coat.


Mmmm...toasty chocolatey almonds!

The combination of dark chocolate and cocoa powder gives them a nice chocolate truffle sort of flavor.  You could easily modify this to suit your own tastes, for example using milk chocolate instead of dark, adding cinnamon or other spices, or adding more or less sugar.

And of course homemade treats like this make lovely gifts:

All you need is a quantity of coffee tin tie bags (which is what they're called, you're welcome), decorative scrap booking paper, an attractive paper punch, a glue stick, and labels with an ingredient list.

And of course the time to punch out decorative shapes, glue them on bags, roast the almonds, and fill the bags.

Voila!  Thoughtful, attractive homemade gifts!

26 November, 2011

Baked Apple Custard

For Thanksgiving I wanted to make something special, that would still be in keeping with my diet.  I've been enjoying baked apples as sweet treats, and thought something along those lines would be perfect.

Recipe:

3 apples
1 tablespoon butter
4 eggs
2 cups milk
1/2 cup sugar (or 2 tablespoons stevia)
2 teaspoons vanilla
3-4 teaspoons spices (apple pie spice, cinnamon, nutmeg, ginger)
2 tablespoons ground almonds

Preheat oven to 350°.
Butter a 2 quart baking dish, sprinkle with ground almonds and shake to coat.
Core apples and cut into thin slices.
Melt butter and pour over apple slices.  Stir to coat.  Arrange apple slices in baking dish.
In a large mixing bowl, whisk eggs.  Add milk and sugar or stevia and mix well.  Add vanilla and spices.
Pour custard over apples.  Place the baking dish in a 9x13 inch pan and fill with hot water. The hot water should come at least 1 inch up the side of the baking dish.
Bake for 1.5 to 2 hours or until a sharp knife inserted into the custard comes out clean.


Lovely!  It may not be entirely diet friendly, but it's not completely diet unfriendly, especially since I used stevia instead of sugar.

The ground almonds on the outside add a nice texture and nutty flavor, but they're totally optional.

It went together very easily, and I think it's quite tasty.

19 July, 2011

Blueberry Sauce

This is a quick and easy (and delicious) way to use fresh fruit and berries.  It's versatile and not too sweet, so it's great on lots of things.

Recipe:
1 cup Water
1/2 cup Sugar
1-2 pints Berries

Bring water to a boil, add sugar and simmer for about 5 minutes.
Add berries and stir to coat.  Simmer for 5-10 minutes, stirring occasionally.
Remove from heat and cool for 5 minutes.  Puree with an immersion blender or regular blender until smooth.


I flavored my blueberry sauce with vanilla and balsamic vinegar, which I added along with the berries.  I think fresh herbs would also be a good (and seasonal) addition.  It's nice and summery, and a great way to use up fresh produce.

And of course it's good on ice cream.

01 June, 2011

Orange Cupcakes with Vanilla Buttercream

This is birthday cupcake recipe #2.  I thought I ought to make something, well, less boozy.  And I wanted something light and summery, which these certainly turned out to be.

Recipe:

Cupcakes
1 stick Butter, softened
1 cup Sugar
2 Eggs, separated
1 teaspoon Vanilla
1 3/4 cups Cake Flour (or 1 2/3 flour and 2 tablespoons cornstarch)
1/2 teaspoon Salt
1 tablespoon Baking Powder
1/2 cup Orange Juice

Preheat oven to 350°.  Place cupcake papers in cupcake/muffin tin.  This recipe makes about 18 cupcakes.
Cream together butter, sugar, egg yolks and vanilla.
In a separate bowl, stir together flour, salt, and baking powder.  Add dry ingredients to the creamed ingredients, alternating with portions of the orange juice.
Beat egg whites until stiff and fold into batter.
Spoon batter into cupcake papers, fill about 1/2 full.
Bake 15-18 minutes or until a tester comes out clean.  Cool completely before frosting.

Frosting
2 sticks Butter, softened
1 tablespoon Vanilla
3-4 cups Powdered Sugar
1-2 tablespoons Whipping Cream

Cream butter until fluffy.  Add vanilla and mix well.  Gradually add 2 cups of the powdered sugar and mix until smooth.  Gradually add remaining sugar and cream until the frosting is a good consistency for spreading.


These came out well.  Nice and summery!  The flavors are Orange Creamsicle-like, which is what I was going for.  The juice gives the cake a great orange flavor without increasing the sweetness.

Yum!

Chocolate Stout Cupcakes with Irish Whiskey Filling and Bailey's Buttercream

This is birthday cupcake recipe #1.  I was feeling kind of meh about what to make for my birthday this year and then I found this recipe over on Serious Eats and I knew it was The One.

Recipe:

Cake
1 cup Stout (Guinness)
1 cup Butter
3/4 cup Cocoa Powder
2 cups Flour
2 cups Sugar
1 1/2 teaspoons Baking Soda
3/4 teaspoon Salt
2 Eggs
2/3 cup Sour Cream

Pre-heat oven to 350°.  Place cupcake papers in a cupcake/muffin tin.  This recipe makes about 24 cupcakes.
In a medium saucepan, melt butter and add Guinness.  Bring to a simmer and whisk in cocoa powder, stirring until smooth.  Remove from heat.
In a separate bowl, combine flour, sugar, baking soda, and salt.
In a mixing bowl, cream together eggs and sour cream.  Add chocolate stout mixture.  On slow speed, gradually mix in the dry ingredients.
Fill cupcake liners about 3/4 full (these don't rise too much).  Bake until tester comes out clean, about 20-22 minutes.  Cool completely.

Filling
8 ounces Bittersweet Chocolate (60-70% cocoa)
2 tablespoons Butter
1/3 cup Heavy Whipping Cream
1/3 cup Bailey's Irish Cream
1 tablespoon Irish Whiskey (Jameson, Bushmills, etc.)

Break chocolate into chunks and place in a heat proof bowl.  Add butter.  Heat cream to a simmer and pour over butter and chocolate.  Let sit for a minute or so, until the cream melts the chocolate (I made the filling while the cupcakes were baking, so I set the bowl on the oven and this helped melt the chocolate).  Stir until smooth.  Add the Irish cream and whiskey and stir until smooth.
Chill the filling until it is firm, but still workable.  It's going into the cupcakes, so you don't want it to be liquid.  I found that kind of a cream cheese firmness was good.  And if it's too firm, let it sit for a few minutes.

Frosting
1 stick Butter, softened
3-4 cups Powdered Sugar
3-4 tablespoons Bailey's Irish Cream

Beat butter until fluffy.  Gradually add about 2 cups of the sugar.  Add some of the Bailey's and beat well.  Add remaining sugar and Bailey's until the frosting is a good consistency for spreading.

Okay, now that all the components are ready, it's time to assemble the cupcakes:

Make a space for the filling in the cupcakes.  I used a small, sharp knife to cut a circle out of the top, and bore a hole in the cake.  Only go about 2/3 of the way down.
Fill the cupcakes.  I used a spoon to scoop out filling and then used a knife to press a glob of filling in, and then make it smooth and level with the top of the cupcake (just like spackling!).  You could also use a pastry bag to pipe filling into the cupcakes.
Frost the cupcakes!


So cute!  And here's a cross section:

The cake is good, not super intense, but a really good chocolate cake, and then the filling is fudgy and delicious, and the icing is buttery and Irish creamy.  They're super good together and this is maybe my favorite cupcake.  Certainly the best cupcake I've made.

Happy birthday to me.

And overall it wasn't a difficult recipe.  There's a lot of steps, but I was expecting to struggle with carving the hole out of the cake and filling it, but it went together pretty quickly, and hassle free.

Oh, and I should add that you don't really taste the alcohol in the cake, filling, or frosting. I mean, you taste it, but I don't think you could get drunk off the cupcakes.

10 May, 2011

Carrot Cake and Cream Cheese Frosting

I found this recipe on Serious Eats.  I love carrot cake, plus I had a bag of beardy looking carrots that I needed to use up, so what better way to do that than with cake?  I modified their recipe a bit, mostly by cutting back on sugar and putting in more carrots and spices.

Recipe:

2 1/2 cups Flour
2 teaspoons Baking Soda
1/4 teaspoon Salt
1 tablespoon Cinnamon
3/4 cup packed Brown Sugar
3/4 cup Sugar
1 1/2 (3 sticks) Butter, softened
3 Eggs
2 teaspoons Vanilla
4 cups freshly grated Carrots
1 inch piece fresh Ginger, grated (or 2 teaspoons powdered ginger)
1 cup Golden Raisins (optional)

Preheat oven to 350°, grease a 9 x 13 inch baking pan.
In a large bowl, combine flour, baking soda, salt, cinnamon, brown sugar, and white sugar.
Beat the butter into the flour mixture until well combined, add eggs one at a time and beat until fluffy.  Add vanilla.  Stir in carrots, ginger, and raisins.
Pour batter into greased baking pan.  Bake 40-50 minutes.

Cream Cheese Frosting:

8 ounces Cream Cheese
1 1/2 cups Powdered Sugar
1/4 cup Butter, softened
1 teaspoon Vanilla

Cream together butter and cream cheese, add powdered sugar and vanilla.  Beat until smooth.


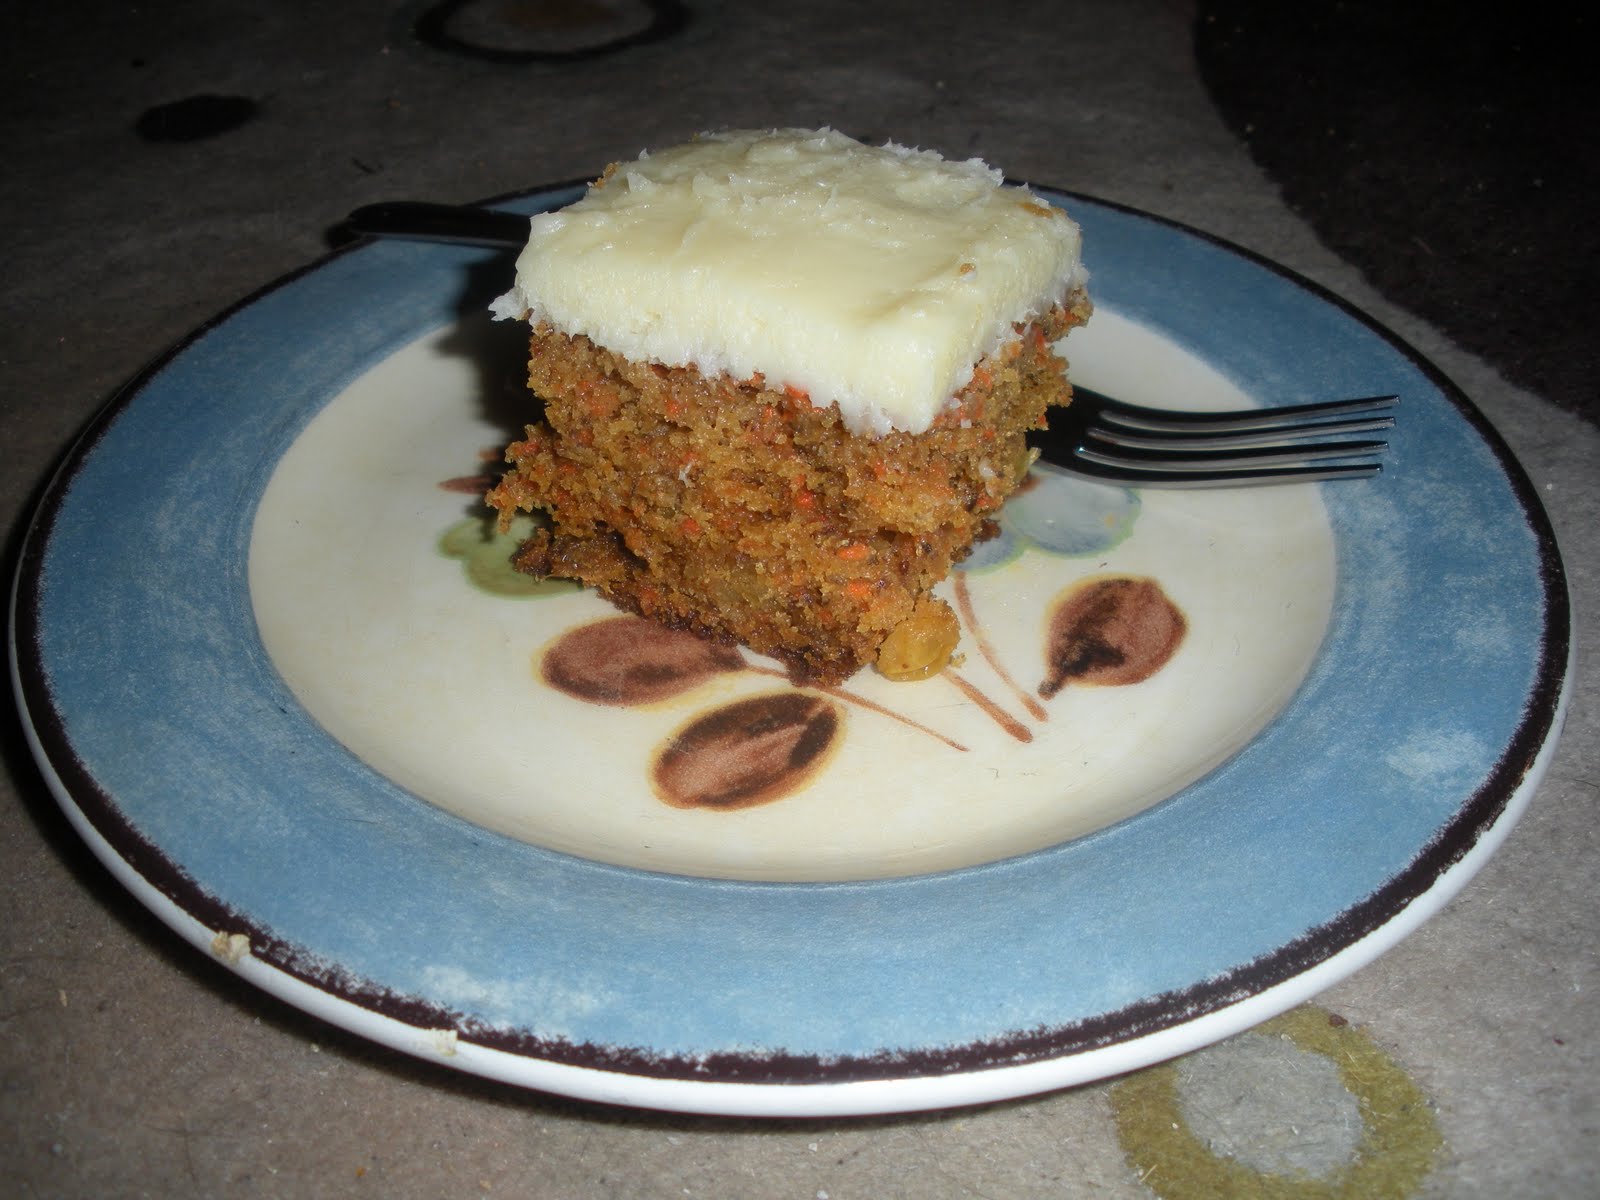
This cake was surprisingly light, considering how dense the batter looked when I was putting it in the pan.  I also had some misgivings about the recipe because I was adding the wet ingredients to the dry ingredients, which is usually the opposite of what one does, but it came out really good.

Instead of using all white flour, I used 2 cups regular flour, 1/4 cup whole wheat flour and 1/4 cup flax seed meal.  Also, since I don't have a box grater or a grater attachment for my Kitchenaid, I used the food processor to shred the carrots and fresh ginger and it worked great!

This cake was very flavorful, light, and not too sweet.

07 May, 2011

Peanut Butter Popcorn Balls

I'll be honest -- I'm not a fan of popcorn.  I don't especially dislike it, but I don't choose to eat it often.  Usually, at the movies, if I have a taste for popcorn, I'll just snag a handful of someone else's (that I'm with, of course) and that satisfies my popcorn craving.  Well this afternoon I was at a movie, I had a taste for popcorn but was by myself, so I actually ordered a thing of it.  And ate less than a quarter of it before I was totally over my craving for popcorn.

Being thrifty, I brought it home thinking that I'd just eat it later, but then I realized it would be totally gross by the time I felt like eating it.  So I hit the internet, hoping to find a way to use up a giant bag of movie popcorn, and found this.

Recipe:

4 cups Popcorn
1/4 cup Honey
2 tablespoons Sugar
1/4 cup Peanut Butter
1 teaspoon Vanilla

Measure the popcorn into a large bowl.
Melt honey and sugar in a medium saucepan.  Bring to a boil and simmer 2-3 minutes.  Stir in the vanilla and peanut butter.  Mix until smooth.
Pour over the popcorn.  Stir to coat the popcorn.
Form into small balls while still warm, and store in an airtight container.

Now, I wore a pair of surgical gloves while forming the popcorn balls and this served two purposes.  First, it provided some protection from the hot peanut butter mixture, and second, I was able to form the balls without getting my hands all messy.


Quick, easy, and delicious!  And yes, apparently I'm also the kind of person who has surgical gloves around.

Sweet, salty, buttery, peanuty...yum!

And I had enough popcorn left to make a double batch.  Yes, 8 cups of popcorn.  Because my local theater has psychotic servings.  Seriously, a small drink is 32 oz.  Ridiculous!